
Asters thrive under ideal conditions and bloom easily with minimal care required, making them one of the easiest flowers to maintain and resistant to diseases and pests.
Plant asters in spring, keeping their soil moist but not saturated. Mulching will help retain moisture and control weeds; additionally, divide clumps every couple years for improved health and to promote more blooms.
Location
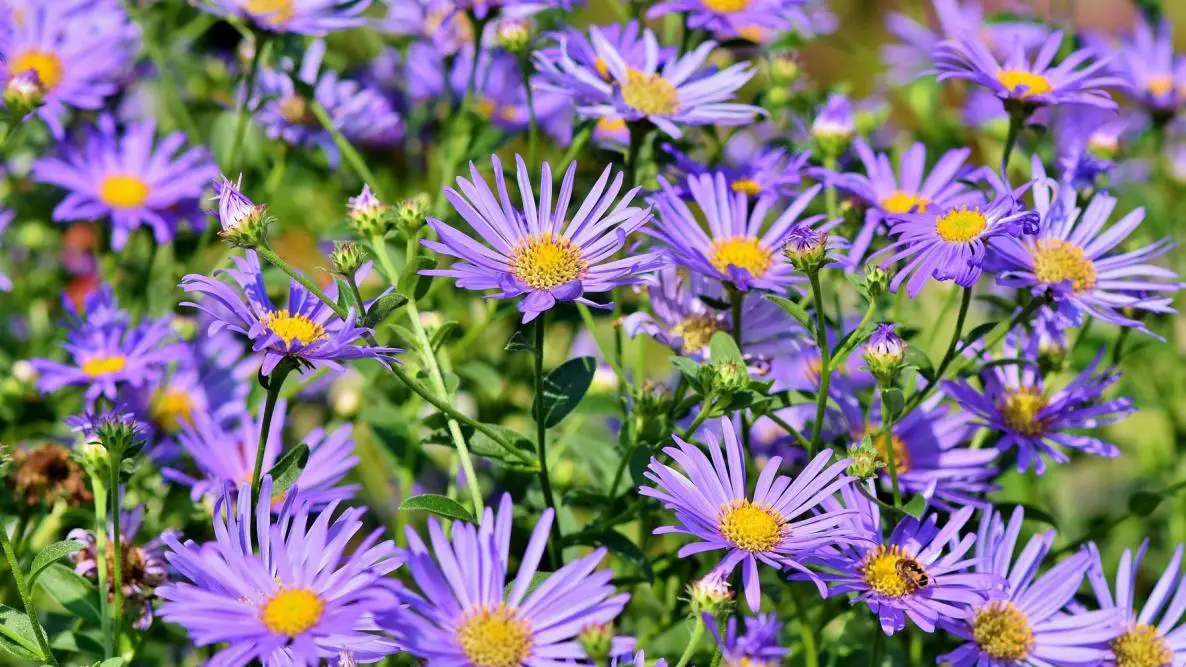
Asters make a lovely addition to garden beds and containers with their daisy-like flowers and easy care requirements, making them perfect for fall blooming bloomers in zones 3 through 9. These fall bloomers range from 1 foot tall up to 6 feet tall and hardiness is tested from 3 through 9 when grown outdoors. In garden beds, shorter varieties serve as filler plants until late summer/autumn bloomers such as black-eyed Susans, zinnias or coneflowers have finished flowering production. Taller varieties provide great backdrops or interplant them with other blooming perennials like black-eyed Susans, Zinnias or coneflowers if interplanted among perennial bloomers such as black-eyed Susans or coneflowers when interplanted among blooming perennials such as black-eyed Susans/zinnias/coneflowers when other perennials have stopped producing flower production while short varieties make great filler plants until late summer/august when other perennials have stopped flowering; taller varieties make great backdrop plants as backdrop or can even interplanted among perennial bloomers like black-eyed Susans/zinnias/coneflowers/coneflowers/ coneflowers/coneflowers/coneflowers etc…
Asters seedlings can be planted indoors in early spring or outdoors after all risk of frost has passed, either directly in your garden or transplanted later that season. When starting from seeds, ensure they receive full sunlight with rich, well-draining soil to germinate. Once planted in their new environments, asters tend to thrive when placed partially shaded areas that get plenty of light – in Northern climates it’s best to do this early autumn in order to give the plants time to settle before winter arrives!
When planting asters from containers, select a pot that’s at least as wide and half as deep as its eventual width and depth – this will help create a balanced look between plant and pot. Asters prefer moderately rich, loamy soil that drains well; when amending this material use compost for nutrients. Avoid sandy soils that drain too rapidly because this may stress out asters. When watering them instead ensure it reaches their roots rather than leaves and flowers to prevent powdery mildew forming on leaves or flowers which could promote powdery mildew development.
As soon as flowers start to fade, cut back asters to just above ground level to encourage rebloom and help avoid disease. Once frost has subsided, use organic materials for mulching at their base in order to retain moisture and protect from harsh winter weather conditions. You may also light fertilize growing asters with balanced plant food once every month for additional benefits.
Soil
Asters thrive in most garden soils, but for optimal results it is best to plant them in loose, loamy, well-draining soil. For best results, plant late spring or fall so their strong root system can establish itself before hot weather or harsh winter conditions arrive. They also do well when grown in containers as long as their roots have room to expand. In heavy soil that requires amendment with more organic matter adding coconut coir or perlite can often help improve drainage and nutrient availability.
Once asters are established in your garden, they require minimal care to stay healthy. Aside from regular watering and mulching, asters benefit from receiving light applications of balanced fertilizer in spring and summer as well as pinch back flower stems early summer to encourage bushier, less leggy growth with more lateral stems for additional blooms. Tall varieties may need staking midsummer; once blooming season ends in fall you can either cut them down or leave their seed heads up for wildlife feeding purposes.
Propagating asters via division and cuttings is generally straightforward and results in reliable seedlings. Self-sowing may also yield results, although any seedlings produced may not resemble their parent plants and could prove weaker.
Divesting an aster clump should be performed early in spring as soon as new growth has appeared. Dig up and divide up all root clumps using either hand or spade, discarding any woody or nonproductive portions before replanting immediately or taking softwood cuttings from healthy plants between April and August to increase stock.
Water
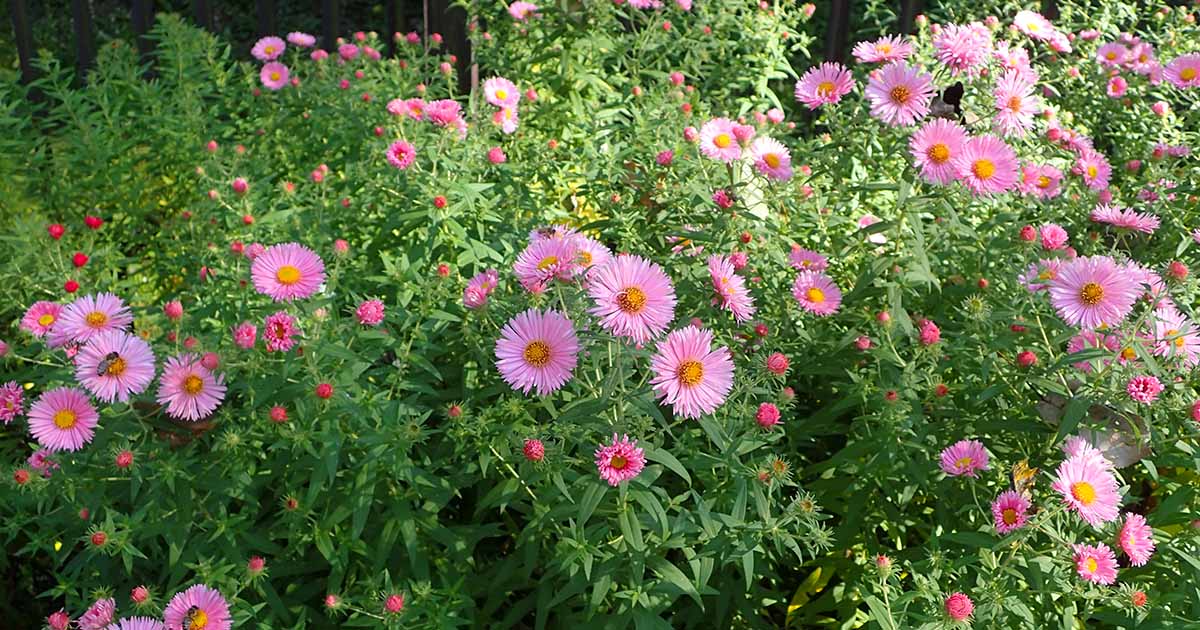
Asters continue blooming well into fall when many other perennials and annuals have gone dormant, making them perfect for landscape use with other fall-blooming flowers, planting in containers for an eye-catching autumn display, cutting for arrangements or simply keeping around as cuts. Being easy to grow, asters make great choices for new gardeners looking for low maintenance solutions without insect or disease issues – although after several years’ growth the aster plants should be divided to maintain health and prevent overcrowding.
Soil that is both rich and loamy is ideal for growing asters, with plenty of organic matter such as compost or manure to promote drainage and provide essential nutrients for plant health. When using commercially prepared potting mixes, consider substituting coconut coir or perlite with some of the regular material to improve drainage and aeration.
Aster seeds should be planted indoors at least four weeks prior to their expected last frost date in biodegradable seed starter cells filled with good-quality potting medium, barely covering each seed with soil and placing in an indirect sunlight location. Once seedlings appear, thin to one seedling per cell.
Once the asters have been planted in your garden, space them 1 to 3 feet apart depending on their species and anticipated size. Mulching will help keep soil cool while also helping prevent weeds from popping up; make sure you provide ample irrigation after planting as well as regularly throughout summertime.
Fertilization
Asters do not need heavy fertilization, but will bloom more reliably with regular applications of slow-release all-purpose or flowering-specific fertilizer in spring and summer. Make sure not to overfertilize, as overfertilization could stop flowering altogether.
Mulching is also essential for asters, as it helps preserve moisture levels in the soil and regulate temperature. A layer of organic material such as leaves, straw or wood chips should cover at least 2 inches deep of soil surface in order to keep soil cool and prevent weed growth around their flowers.
If you can’t wait until fall to plant asters, many nurseries offer a selection in spring. Or you can grow them from seeds or root cuttings. When sowing indoors in late winter or early spring for optimal results; transfer seedlings outdoors when the weather warms up for planting outdoors when ready. When transplanting young asters from nursery containers into your garden spaced 1- 3 feet apart.
If growing from cuttings, begin taking stem tips in spring and removing all leaves except those at the bottom half of each stem. Dip these ends in rooting hormone, and plant them in multipurpose compost in planting holes slightly deeper than where the cuttings came out of. Keep the containers out of direct sunlight but in bright areas with indirect lighting; water regularly until your cuttings root before overwintering them in greenhouse or cold frame until ready to transplant them outdoors gradually acclimating seedlings to outdoor conditions over several days before taking their final placement outdoors.
Pruning
Asters thrive when provided the appropriate conditions. Full sun conditions are best, although partial shade (such as from trees) is acceptable for certain varieties like wood asters. They require well-drained soil; boggy conditions may lead to root rot while dry sandy soil hinders growth and delays flowering. When planting them in their new homes, incorporate compost or well-rotted manure before adding your asters for best results. Mulching helps retain moisture levels and regulate temperatures within their growing space.
Aster plants can be propagated from seed, but this process may take too long and result in plants that don’t look exactly like the parent plant. Therefore, division or cutting propagation may be more suitable.
Once a plant has outgrown its space, dividing can help create two separate aster plants. Furthermore, it’s beneficial to divide asters every three years in order to maintain vigor and avoid leggy growth.
Aster plants require regular pruning in order to stay in shape, remove dead stems and promote reblooming. Pruning can help top-heavy plants become bushier; for those that become top heavy, cut back the tallest stems by one-third to encourage bushiness. Asters also benefit from light spring pruning of leaves and flowers to promote reblooming.
Asters can be vulnerable to leaf spot and stem canker, with infected leaves and flowers needing to be removed immediately to stop its spread. You can help combat these problems by mulching and watering properly, eliminating any weeds near your asters, and using an organic fertilizer in fall after all of their leaves have fallen from them.