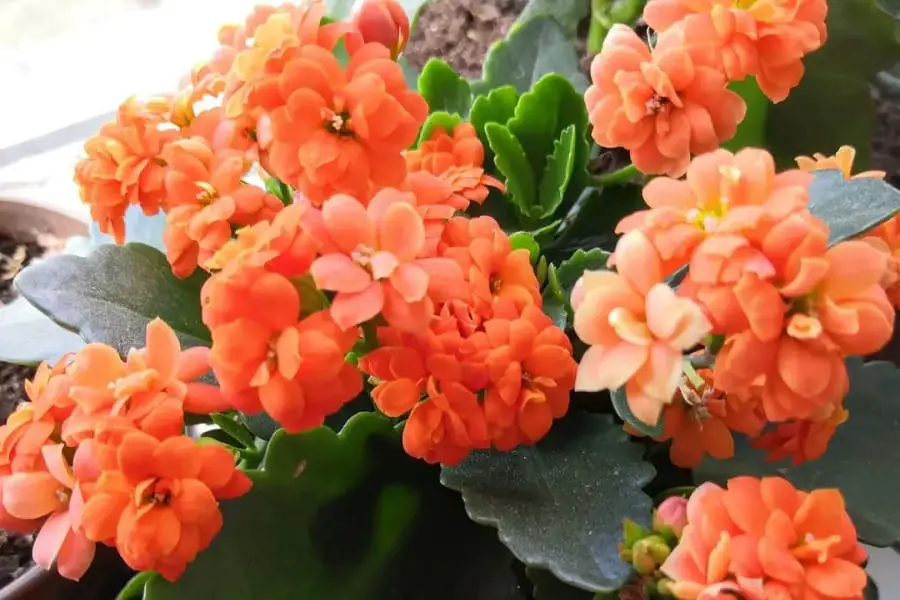
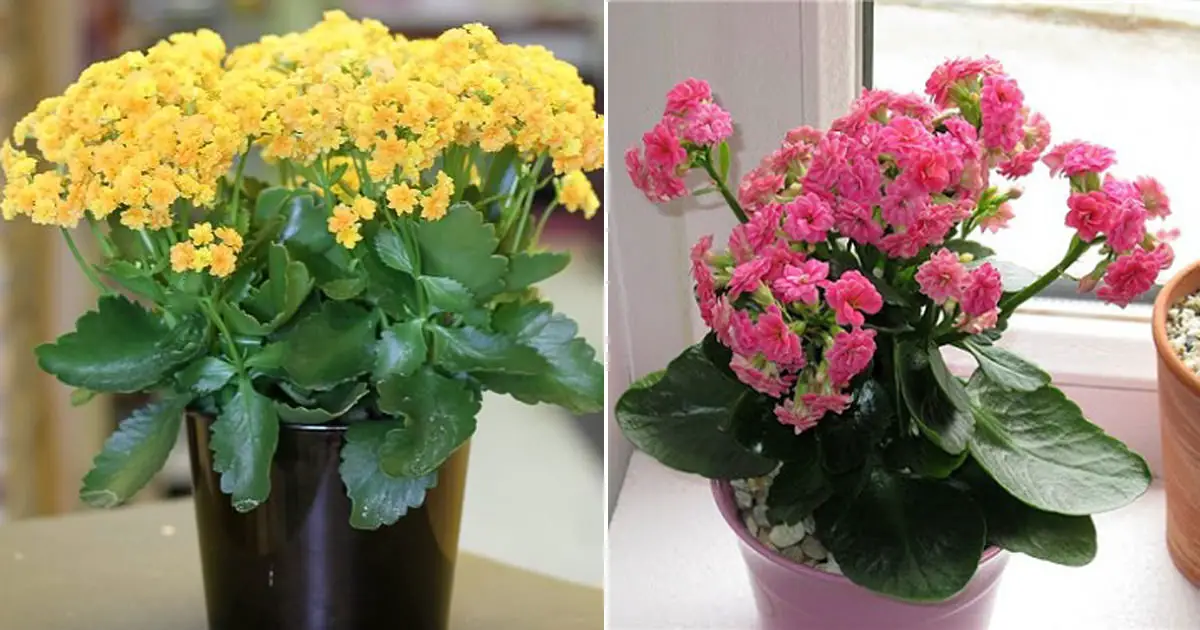
Kalanchoes are an attractive and low maintenance plant that will add a splash of color to any room or garden. Plus, their ability to filter air of toxins is beneficial for your wellbeing – making them the ideal air purifier!
Propagating Kalanchoe begins with a healthy stem with one leaf or node on it. Cut above this node, leaving three inches of the cutting intact.
Vegetative Stem Cuttings
If you want to add more kalanchoes to your home, start with vegetative stem cuttings from either your own plant or one received from someone else.
Vegetative cuttings are easy to propagate and root quickly. Simply take a 2- to 3-inch section of the main stem, remove its lower leaves, then let sit in a warm, dry location for two or three days to allow a callous to form over the cut end. Once this has taken place, place it into moistened potting mix or perlite and water regularly.
Within seven to ten days after cutting, your cutting will be ready for transplanting. Simply pot it in a container with drainage holes and watch your new houseplant blossom into an impressively healthy and vibrant specimen!
Once your kalanchoe is established, it’s recommended to repot once every two years in order to promote growth and prevent root issues. To repot, move the plant into a larger pot using either succulent or cactus mix with drainage holes at the bottom.
Indoors, you may need to repot your kalanchoe more often than outdoors if it has grown too large for its pot. A 50/50 mixture of potting soil and cactus or succulent mix works best for indoor plants.
You can also try mixing peat moss and sand in a 2:1 ratio for drainage. This blend is slightly moister than 50-50, so it allows better airflow. Alternatively, you could also use a clay pot to absorb excess moisture.
Kalanchoe plants require a well-drained soil to thrive. If you’re uncertain whether the soil is dry enough for your plant, use a soil moisture sensor to determine when it’s time for another watering.
Leaf Cuttings
If you want to add a stunning kalanchoe succulent to your garden, leaf cuttings are an effective way to propagate it. Unfortunately, taking leaf cuttings requires more patience than stem cuttings – approximately four months until your new plant roots and develops into an adult size kalanchoe.
To begin leaf cutting kalanchoe propagation, select a healthy stem that is several inches long with at least two leaves. You will also need an sharp, sterile knife or pair of clippers to carefully slice the stem just above a node or leaf.
Additionally, you must carefully cut away any offsets from the parent kalanchoe plant at their junction. As with stem cuttings, offsets must have at least a few leaves for your plants to survive.
Once your kalanchoe cutting has been prepared, place it in a pot or tray filled with high-quality succulent soil that has been thoroughly mixed with mineral grit. Doing this will keep the soil evenly moistened without becoming too wet and rot-prone.
Kalanchoe cuttings should be watered regularly, but don’t overwater them. Kalanchoes need a period of dry time between irrigation sessions to prevent root rot and maintain healthy roots. If your irrigation system features narrow tubes or emitters, controlling the amount of water applied is easier so your new plant doesn’t receive too much or too little hydration.
Kalanchoes require minimal care and can thrive both indoors and outdoors. As perennial flowers, they can survive in USDA zones 9 through 11, blooming once annually.
Kalanchoes require only 12 hours of natural light each day in the fall and winter to form their buds. With proper care, you can ensure they bloom again the following season.
After your kalanchoe has grown from a cutting for around four months, you should begin to notice root development at the bottom. At this stage, it should be moved to a larger container or pot (preferably one that is at least an inch deep) and started feeding with high-quality fertilizer tailored specifically for succulents. Once established roots have taken hold, water requirements will decrease significantly compared to when it was new.

Offsets
Propagating offsets from kalanchoe is a simple and rewarding way to grow new plants for your succulent garden. It’s especially ideal if you want to propagate a kalanchoe but don’t have the patience to wait for it to develop leaves.
Propagating offsets from Kalanchoe plants begins with finding healthy mature leaves or stems that have not yet flowered. These should be at least several inches long and contain two or more leaves.
Once the cuttings have rooted, place them in water or soil with excellent drainage. Let sit for 3 to 7 days or until your Kalanchoe plants have taken root (depending on which variety). After that is complete, transplant them into larger containers.
Indoor kalanchoe plants can benefit from direct sunlight or a well-lit window for optimal growth. Be sure to give the pot a quarter turn once a week so all sides receive equal sunlight exposure.
Kalanchoe plants require more frequent watering in summer due to their high evaporation rate, but it’s best not to overwater as this could cause root rot and eventually plant death.
Please be aware that some kalanchoes can be toxic to pets, so be sure to keep them away from any furry family members. This is especially important if you have children in the house or animals allergic to kalanchoes.
Once your offsets are growing, it is wise to pinch them back for even growth. Doing this prevents legginess and increases their susceptibility to etiolation – an issue which makes it harder for the plant to thrive.
Once the offsets have been harvested, they can be transplanted to their own pots and planted in high quality succulent or cactus soil that drains well. Water them once a week during the summer and less frequently in winter as these plants go dormant during this time.
Kalanchoe plants can easily be propagated using stem cuttings and leaf cuttings. This is a quick and straightforward method for creating new healthy kalanchoe plants that will thrive.
Seeds
If you want to start a new garden or save some flowers for yourself, seeds are the way to go. They’re easy to grow and offer an array of colors and flower shapes.
Kalanchoe seeds should be planted during spring or summer when temperatures are at their most refreshing. You can also cross-pollinate two different cultivars of kalanchoe to create a new hybrid variety.
Kalanchoe can be propagated by seed. To do so, select a healthy mature but unflowering stem and select some leaves from it. Use either your knife or clippers to carefully slice off an inch-long segment of this same stem.
Keep the end of the cutting calloused for several days before planting it in soil to prevent disease and root rot from taking hold. After drying has occurred, dip it in a rooting hormone before planting it in soil.
Once your pot is full, add a mix of cactus and succulent soil that drains quickly. You can find specialty mixes at most nurseries or make your own mix using sand, peat moss (coconut coir and perlite work too).
Place your kalanchoe stem into the mix, keeping the soil moist but not saturated. After roots have established themselves, you can transplant it to a larger pot for further cultivation.
When transplanting your kalanchoe, ensure it receives plenty of sun and water it regularly (but never overwater it). Failure to do so could cause etiolation – when the leaves turn brown and fall off.
Kalanchoe can also be propagated via leaf cuttings or offsets, which are tiny baby plants that sprout at the tips of their parent plant’s leaves. Unfortunately, these require a great deal of care from the parent to survive and will need some time to mature into independent plants.
Kalanchoes require six weeks of natural winter darkness to reset their bloom cycle, which is why they often don’t bloom when not kept in the dark during these months. With proper care during this period, however, you should usually see them bloom again the following year.

