
Proper storage will preserve both pungency and flavor for as long as possible; an unpeeled head of cured garlic should last months before needing replacement.
Garlic should be stored in a cool, dark space with good air circulation. You can spread out individual bulbs on a screen or hang bunches together until ready for harvesting.
Curing
As garlic bulbs mature and expand, they must undergo curing in order to prepare them for storage. This process allows the bulbs to fully mature while also releasing their pungent aromas. It is relatively straightforward and can easily be completed at home using a garage, basement, shed or hoop house; once their outer layers have dried completely they have been properly treated as curing finished and ready for use.
Curing bulbs requires keeping them out of direct sunlight, which will compromise both their quality and flavor. A shady location or indoor space with good air circulation is ideal. Some growers tie together 8 to 10 garlic stems together with twine before hanging them upside down for two weeks in cool, dark areas; others lay them flat on screens or wooden frames raised off the ground using sawhorses or cinder blocks so all sides of each bulb have access to airflow.
For longer-term storage options, create a screen frame out of chicken wire stretched over a wooden or metal frame and place the bulbs on it in a warm, dry location such as your garage, cellar, shed barn or hoop house. Be mindful not to expose them directly to sunlight as this will reduce curing times significantly.
Verify your garlic regularly and pull any that have sprouted or softened as these won’t keep as long. Also discard any bruised or misshapen garlic that won’t store well; sprouted or damaged varieties make an excellent candidate for dehydration or freezing and can then be used as dry rubs, in casseroles or one-pot meals, or in any number of other applications.
Braiding garlic heads for long-term storage is another effective strategy. Select healthy, full-sized garlic heads from your harvest and set them in a dark, cool place for several weeks to allow their outer paperlike wrappers to dry. Once this process has taken place, arrange your garlic in a row along the center axis with one on either side; cross one stem over onto its respective left or right stem to create another center stem – repeat this procedure several times until you have formed a braid!
Storage
Garlic is an onion relative that has long been enjoyed worldwide. From gardens and grocery stores alike, garlic has long been grown for consumption as an ingredient for cuisines of every sort and cuisine type. When growing garlic at home or purchasing it from stores it’s crucial to know how to store it effectively to ensure its long shelf life – improper storage could shorten its life from weeks or even months!
Garlic should be stored in a cool, dark environment that has good ventilation. Direct sunlight should be avoided to prevent its softening and spoilage; keeping garlic at room temperature will keep it fresh but is not ideal for long-term storage.
Ideal storage conditions for garlic include placing it in a paper bag with holes punched for ventilation; alternatively, cardboard boxes equipped with holes can also be used and kept in cool, dark environments for optimal storage of hardneck and softneck varieties of garlic. This method works for both hardneck and softneck varieties of the plant.
As you store garlic, be sure to monitor its condition regularly by inspecting its skins for signs of softening or blemishing as this indicates the bulb has reached maturity and won’t last as long when stored. Furthermore, refrigeration shortens its shelf life significantly.
If you want to keep your garlic fresher for longer, hanging is an effective solution. There are commercial garlic hangers available for purchase; alternatively you could stretch an old pair of pantyhose over a coathanger to use as a hanger and use that instead. When curing, the bulbs should hang in an environment which provides dry air circulation with ample ventilation for at least 10-14 days until their neck constricted, their stem dried out completely, and outer skins became papery – these signs indicate successful curing.
Preparation
Keep your garlic fresh as long as possible whether you grow it yourself or purchase it in the grocery store by properly storing it. Doing this ensures it retains its texture, flavor and pungency as well as protect it from spoilage and mold growth.
Storage conditions that provide optimal results when curing garlic include cool, dark and dry conditions – similar to those used when curing. Refrigerator storage conditions expose garlic bulbs to high humidity and temperatures that can cause them to split open; for best results store in a cool dark well ventilated cupboard or pantry for optimal long term storage of individual unpeeled cloves away from their heads of the bulb.
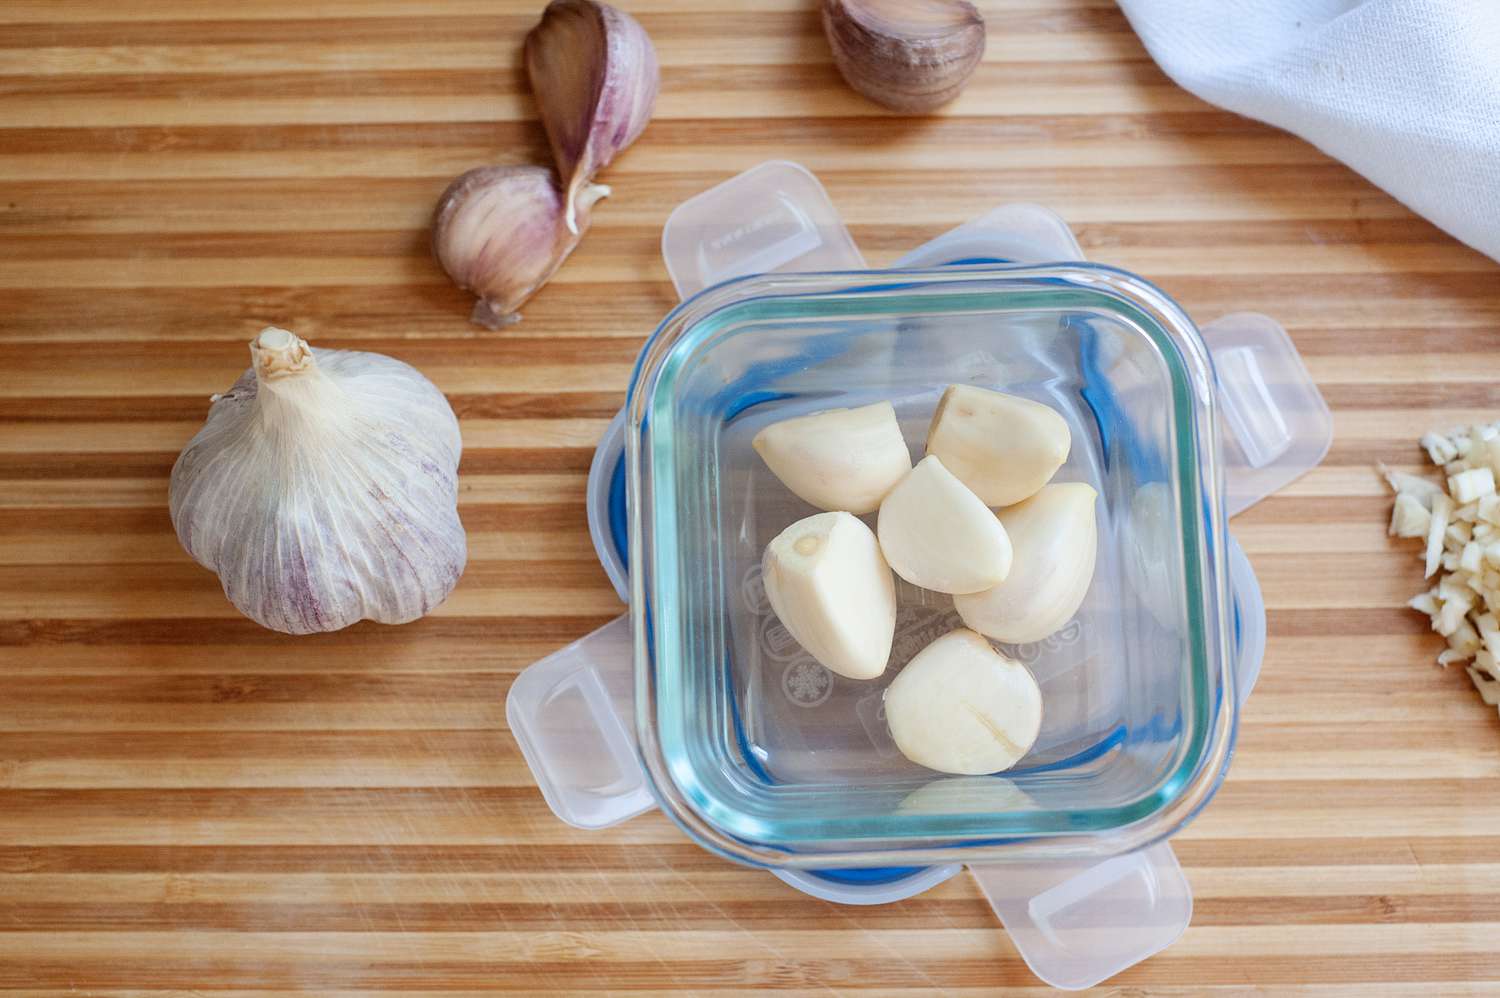
Preparing garlic for storage requires cleaning and drying it carefully. Gently brush away any dirt or other debris clinging to its exterior before carefully cutting individual cloves from their head using a sharp knife. Place each individual clove into an airtight container such as resealable plastic bag or glass bowl; once frozen for one hour transfer them from baking sheet into freezer-safe plastic storage bag labeled and dated accordingly.
If you’re storing garlic for planting later, an ideal technique is burying its bulbs in an organic material such as straw in the fall. This will allow them to retain enough warmth to break dormancy and sprout in spring; gardeners in colder climates should consider applying an additional mulch layer as protection overwinter.
Although many may assume it necessary to trim flower stalks from hardneck varieties of garlic, doing so may actually lead to smaller bulbs. According to University of Minnesota Extension, stalks should only be cut when they appear wilted or brown.
Cooking
Properly stored garlic bulbs can last months in cool and dry environments; individual, unpeeled cloves may even stay fresh for weeks in these conditions. But breaking or peeling will reduce their shelf life significantly.
When purchasing garlic at either a grocery store or farmers’ market, look for firm bulbs with dry papery skins that have firm bulbs with firm bulbs that have dry papery skins – these will typically have milder flavors than store-bought, refrigerated varieties. Any bulbs which sprout are an indication of spoilage that could make them taste stale over time.
If you grow garlic yourself, wait to harvest until the ground has become completely dry before taking harvesting steps. This allows the bulb to draw moisture out from its roots and leaves more easily so it can cure more quickly.
Once your garlic is ready to be stored, remove and discard its tops in order to prevent overly soft bulbs that could rot more quickly. Furthermore, any blemishes or bruises from its exterior must also be addressed as these could impede storage capabilities. For optimal storage conditions in the fridge use mesh produce bags or bowls with ventilation holes rather than plastic containers which limit airflow causing it to rot faster and sprout sprouting sprouting sprouting sprouting sprouting sprouting
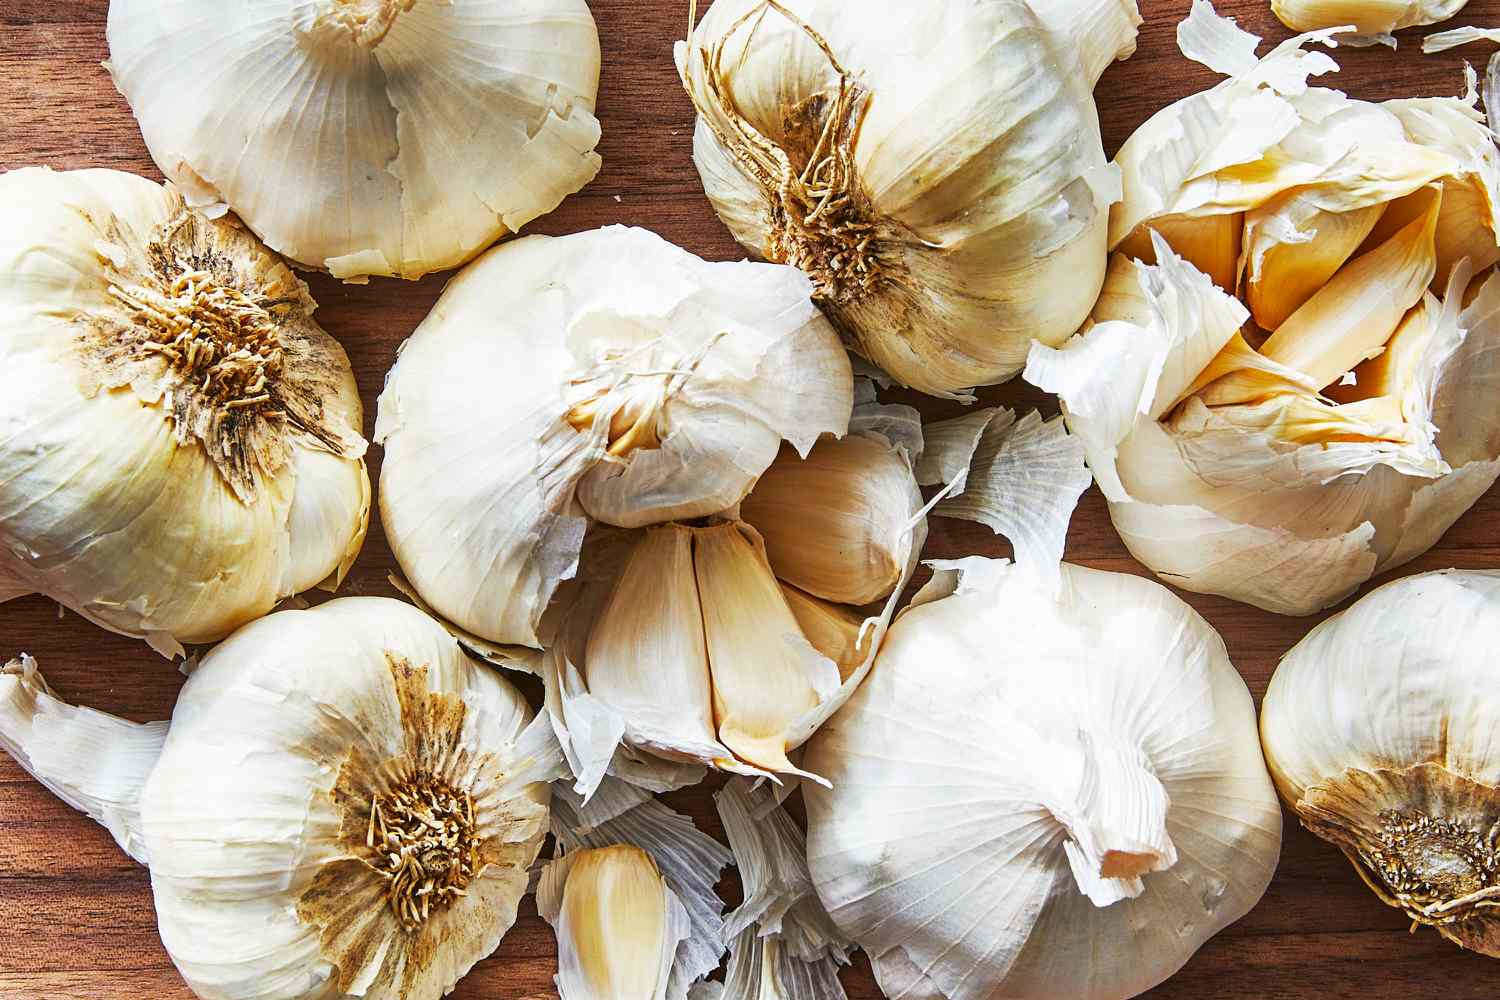
Whole, Unpeeled Garlic
When storing whole bulbs of garlic in an unpeeled state, store it in a cool and dark cupboard away from heat sources and near the bottom so it will not get knocked around too easily. Stored this way, garlic should last several months at room temperature.
If you don’t have a cool, dark cupboard to store your garlic in, consider hanging it instead to dry. This method works well for softneck varieties like Silverskins and Creoles that feature flexible stems that make braiding difficult; hardneck varieties have stiff stems which may prove troublesome when hanging for drying. Simply tie bundles of your garlic together using twine and drape them over a ledge in a shaded spot where there won’t be disturbance from insects or birds.