
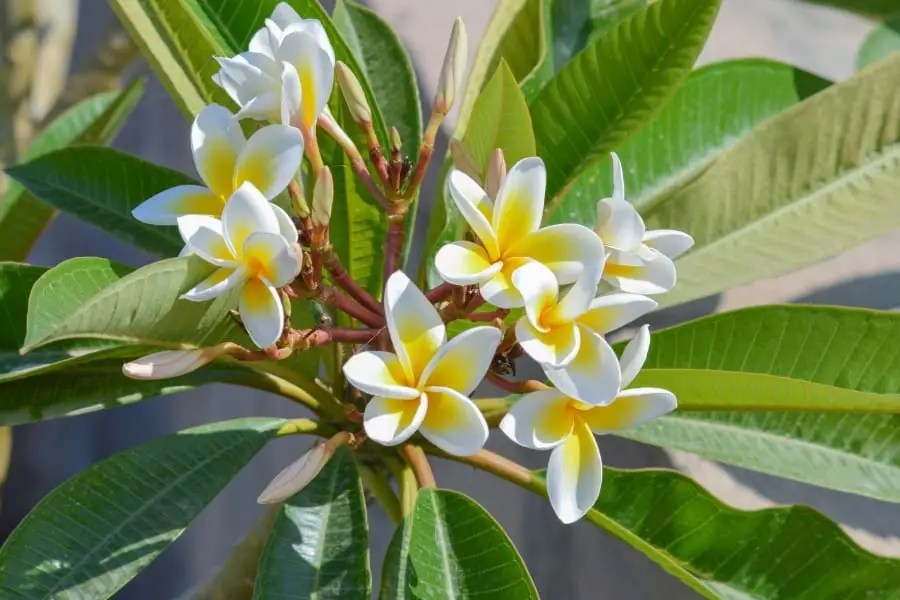
How to transplant plumeria bushes can be tricky for many gardeners. Plumseria (plumeria capituifolia) is a fairly delicate plant and can even be damaged by some common garden pruning methods. When it comes to how to transplant plumeria, there are several things that must be considered. This article will discuss how to transplant trees in general and specifically how to transplant plumeria.
Transplanting plumeria can be tricky for most gardeners because it is a slow growing plant. Moving a large mature plumeria plant can often take a few gardeners. The best time to transplant a larger plumeria tree is early spring, as the plant has only just begun to grow and it will not be as likely to suffer from shock if raised. When you transplant, dig around the trunk of the tree to remove any old tendrils or roots that may interfere with the reporting process. Dig around the base of the trunk, but be careful not to dig in areas that can become weak due to water runoff.
For how to transplant, remove the young cutting and any other long dead branches or pieces of wood on the stem. Thoroughly wash the area with a good detergent and water and then apply a strong layer of mulch or garden soil and press the cuttings into the mulch/soil. Wait until the young cuttings have soaked up all the water and have completely saturated the soil. They should dry out a bit during the night. Move the cutting towards the trunk of your house, keeping in mind that you don’t want it to get too close to the roof or walls. The trunk of the tree can absorb much more watering and the process will be faster if the cutting is located close to the ground.
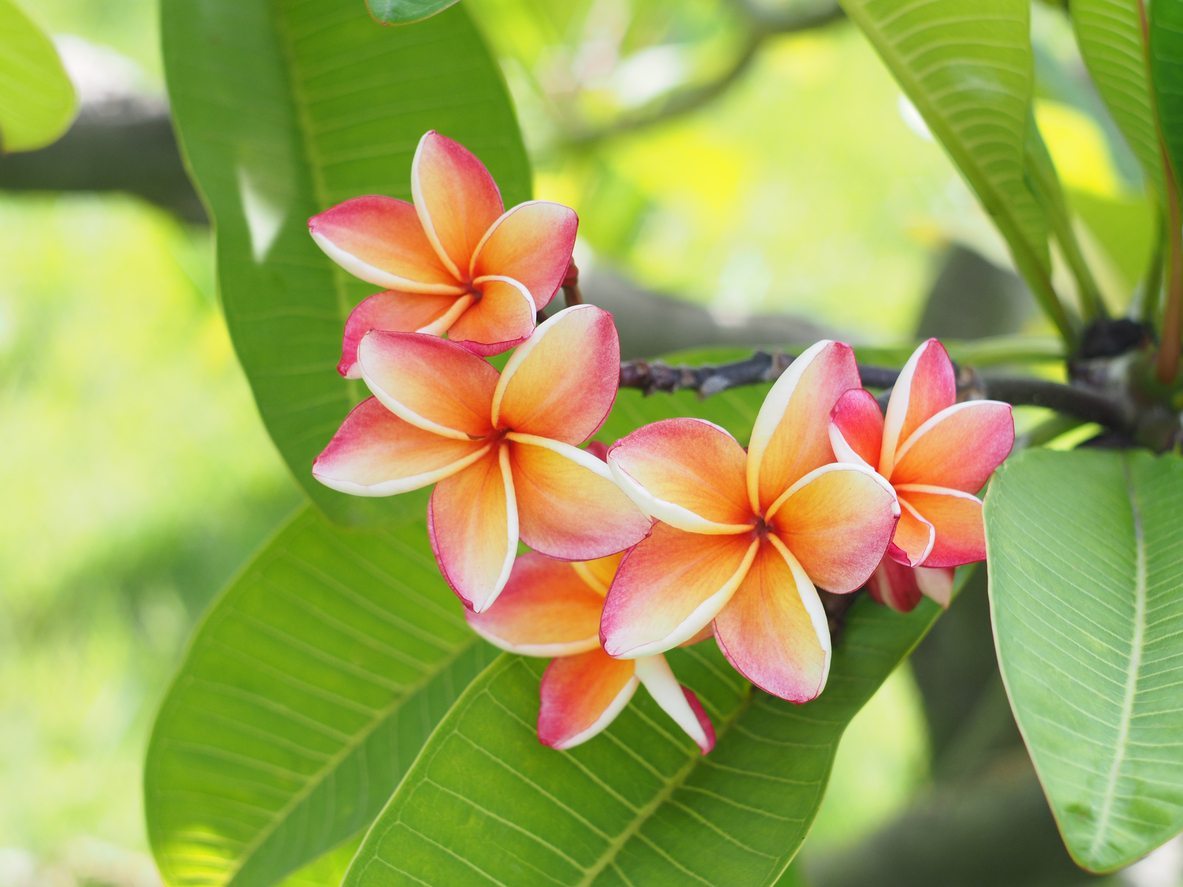
If you’re trying to grow red plant rooted red plants, you’ll find that replanting is much easier than attempting to grow them from seed. When you transplant, you’ll only need to replant a single cutting as opposed to planting several cuttings. When you’re transplanting, leave about one inch of space between the cuttings. If you have trouble replanting, there are nursery services that can help you with the process. In addition, if you are planning to have multiple flowerbeds, this method of replanting makes sense.
For how to transplant plumeria, cut the stem ends right above the base of the stem. It should be about two to three inches below the ground. If the stem is longer, you can place it on top of a small piece of cuttlebone or shavings to make the new plumeria stick straight up. Be sure not to place frangipani under shavings as they may rot due to moisture.
You can also transplant frangipani limb or cuttings into pots. If you are transplanting into a larger container, be sure to use enough water to fully rinse out any existing roots. The plants may require more watering than the ones in a smaller container. Be careful not to let the water stay on the leaves or they will become brittle and fall off.
If you aren’t sure how to move your cutting, be sure to take photos before the procedure so that you can accurately predict how much water, time and effort will be required. When cutting, make sure to always cut at a 45 degree angle. This prevents the base of the stem from breaking when it is weighed down by the larger leaves. When moving plumeria plants, you should avoid moving them if the weather is very cold or very hot. The heat can cause stem breakage and the freezing temperatures can damage the leaves.
How to transplant plumeria cuttings isn’t rocket science. The hard part is taking the first step. Once you learn how to do it, you will have no problem replanting those cuttings into your favorite plants. And when you choose the plants that you really enjoy, you will have a continuous source of plants, without the hassles of constantly replanting.