
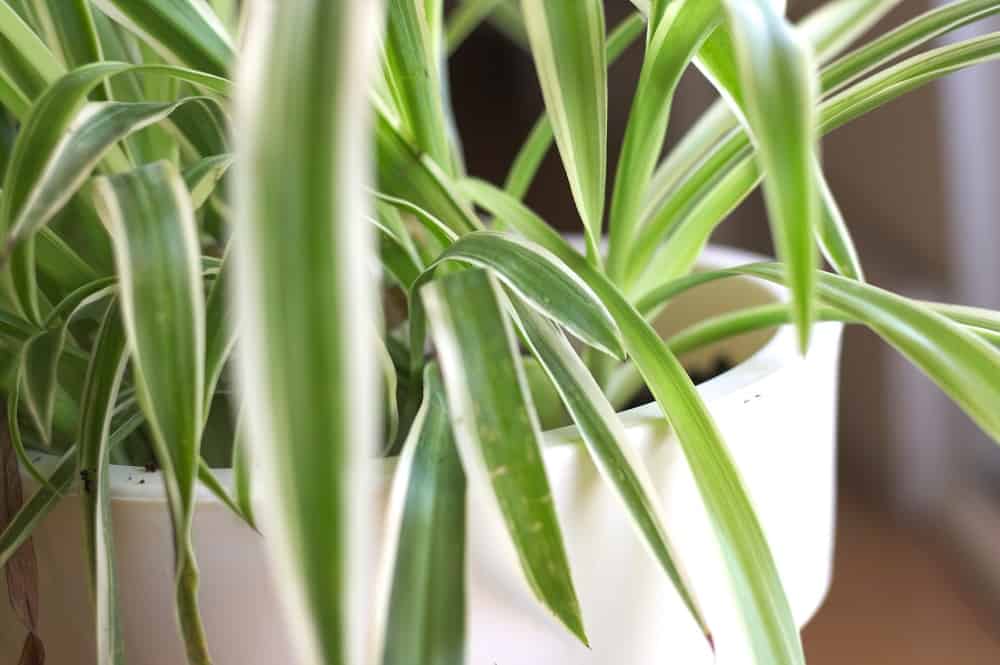
You’ve just got your first spider plant and are still finding out how to report a spider plant. First of all, congratulations! They’re beautiful little plants and you’ve got yourself a wonderful specimen plant that is going to stay with you for a long time to come. Just don’t expect it to do a lot of growing for you yet, though. Let’s get to know how to repot a spider plant first, shall we?
To report a spider plant, first, you need to sever its attachment from its original mother plant by either using a sharp and blunt knife or a pair of scissors. You can then pot it up for later into a larger container with the same soil mix you used for the normal adult spider plants. Don’t overwater the specimen and make sure to keep the soil light and damp, but not wet. The mother plant will soon establish itself and grow roots down the new pot, but you have to continue watching it to make sure it roots well.
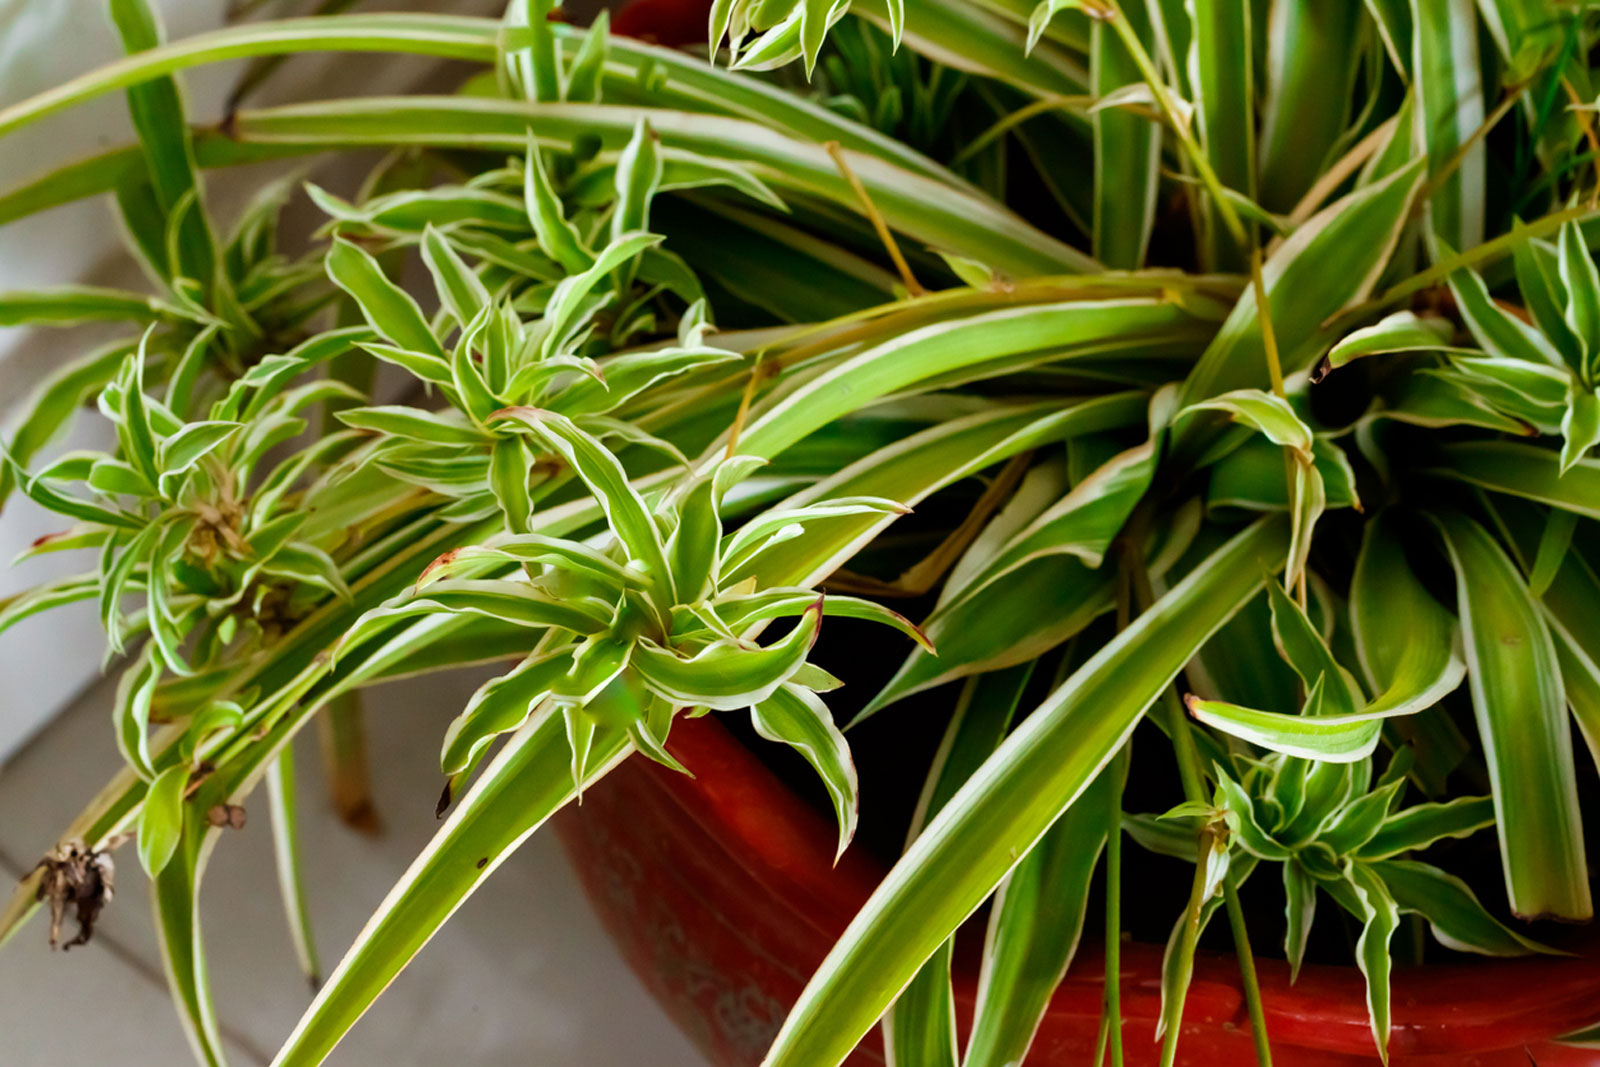
Once the clipping has been completed, remove the remainder of the aerial support and set it aside. It is quite common for the “legs” of the plant to remain attached to the mother plant and end up holding it over the soil where it should not. You can loosen those legs and discard them. Now, if you have young spider plants that have already formed their leaves, this can be difficult. It is recommended that you allow the new plant to begin growing into leaves on its own for about 2 weeks before you do any reporting.
It is very easy to know when to repot your Spider plant, because the appearance of the leaves will have changed. If the green color of the leaves has not changed, or they have turned yellow instead of green, then your plant needs to be repotted. If the leaves have changed colors, then you need to wait for a week before repotting. Another thing to know about repotting is that you should not use your regular pot in the reporting process. You need to use a glass pot or one that has a drainage hole in it for the plant to properly spread.
When repotting a Spider plant, you need to carefully remove all of the leaves on the main stalk of the plant. Then, remove all of the dead flowers as well. Be careful that the roots are not damaged when you pull these off of the plant, as they are vital to the plant’s survival.
After repotting, it is important that you water the plant very well and then let it drain completely. Make sure that the drainage hole is open before repotting, because if it is not open, the water can end up pooling in the bottom of the container. This could drown your spider plants, which is obviously not good. Once the water has drained completely, it is time to repot the plant.
How to repot a Spider plant is pretty self explanatory, but there are a few extra tips that you should know about before you start repotting. The first step is to remove the majority of the existing soil from around the mother plant. This is best done by hand, but some use a platter or their hand. Once this is done, remove the old pot, and if needed, add new soil, and then place the new one in.
As stated before, when repotting, it is important that you keep the mother plant away from the ground, so that you do not accidentally break the roots. One way to make sure that the roots are kept clear is by wrapping a piece of paper towel around the root system and then putting a plant in it. If the paper towel slips, it is probably best to just remove the plant. It is important to report a Spider plant every three to four months, or else the spider plant will take over your garden.