
If you have a garden or are thinking about starting one, you may be wondering how to grow navy beans. There are a few things you need to know before getting started. In this article, I will talk about how to grow navy beans. It s pretty obvious, but just in case I continue to read, I am going to mention it again:
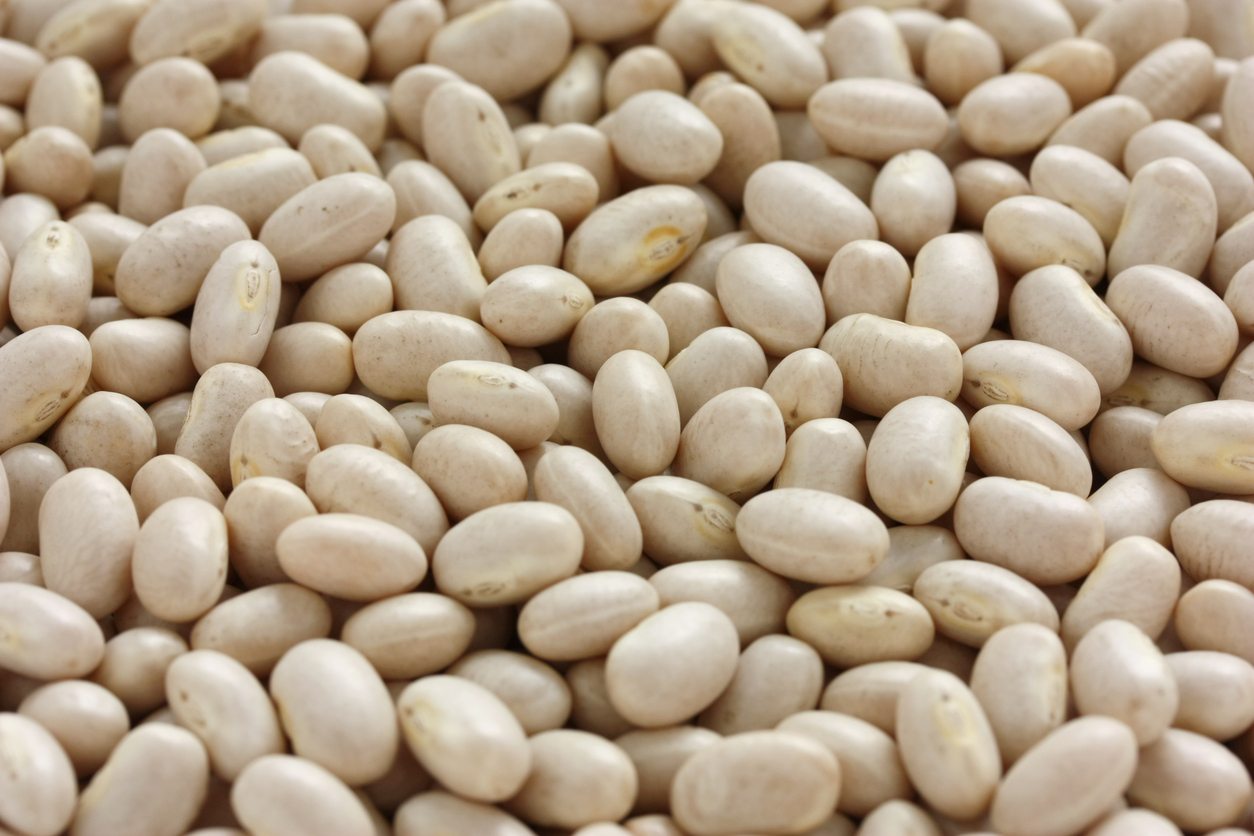
First, navy beans aren’t actually navy in color at all. In reality, they’re small, white, oval beans. So, why call them navy beans?
Well, navy beans came about because of the need for dried beans in the Navy. At the time, they had to have something readily available when on shore, and dried beans was it. The Navy needed dried beans in order to tide their meals along while waiting for the boats to arrive. So, naturally, they began cultivating and harvesting black beans. But, eventually they hit upon the idea of crossing over and breeding black with navy. The end result was tasty, nutritious, and uniform (as they say) black/ navies.
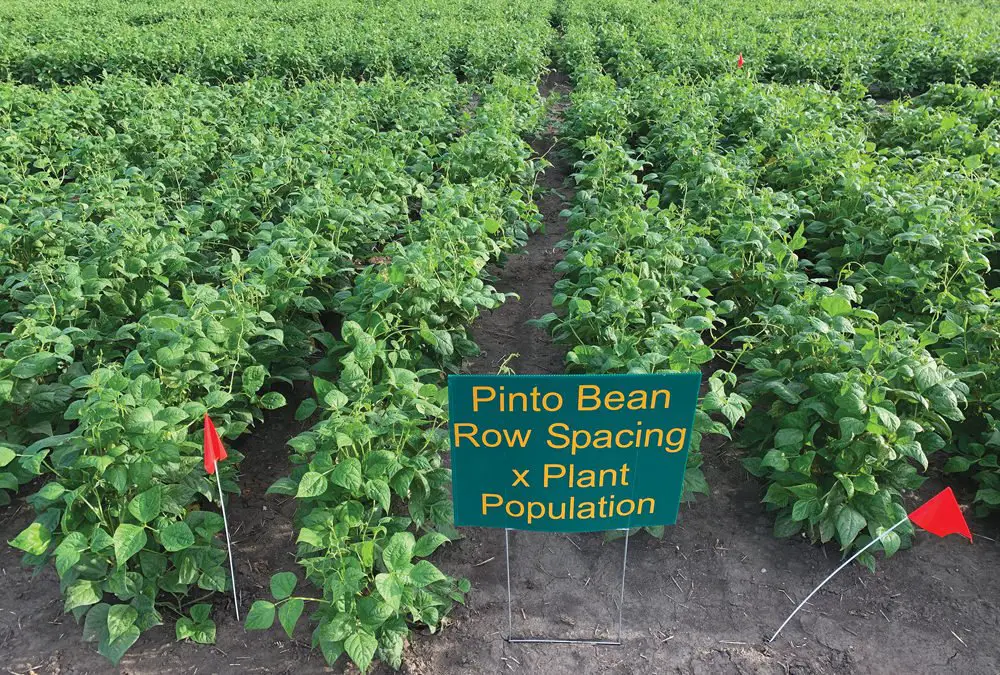
So, here is how to grow navy and bush beans. Grow them in groups of four-eight. Do your harvest in late spring or early summer. When they come out of their dormancy period, you can separate the pots from the remaining seeds and dry them for later use. Place the pods in a wire enclosure or container, tightly cover, and put in a cool dark spot for at least two months.
Once they are mature, you can separate the plants and harvest fresh, healthy seeds. Dry the beans for later use, this is easily accomplished. Once fully dried, place the potted plants in potting medium, moisten, and place in a mesh basket. You can now harvest and enjoy delicious, nutritious black/ navies in a few weeks. If you do not have a mesh basket, just place the seed pods upside down into a bag and store in a sealed bag.
The third phase of growing how to grow navy beans, and the most rewarding, is the second phase where you will wait for the seeds to germinate. In this phase, you will need to make sure that your plants get plenty of light. You also need to water regularly but keep the soil moist (not soggy). You want to be able to seed the plant easily and make a crop of healthy seeds.
In your effort to get nutrient rich, aromatic navy beans, you will also need to make sure that your plants get regular watering and fertilizer. In order for your plants to grow and produce, you need to provide them with enough water and food. One sure way to get started is by using a good quality, fresh smelling, multi-stage liquid fertilizer like Woll’s Growing Blog Fertilizer.
In order to prevent disease, it is best to mulch your plants. This can be accomplished by using straw, leaves or other natural items. If you are going organic mulching, it is important to cover the soil with plenty of peat moss, organic mulch or shredded leaves. This will prevent soil erosion and help prevent weed growth. Once your plants are established, you can start harvesting and enjoying tasty, fresh tasting beans!
To assist your plants grow properly, you will need to construct a tee. When you are planting your seeds, it is best to do it in a circular pattern, approximately two feet apart. The depth of the trench will depend on how many plants you have. On average, four to six inches deep is perfect. To construct the tree, dig a hole that is half the depth of your seed pit.
Fill the hole with either peat moss straw or shredded leaves. Place your seeds in the center of the pile. It is a good idea to keep a little bit of dirt in the bottom of the hole. The next step is to position your pole in the round outer perimeter of your tee and place a potting soil bag around the base of your pole.
Now it is time to wait. You will need to cover the bean with at least three inches of organic mulch and wait. As the seeds germinate and begin to grow, weeds will start to form and the beans will be protected from any weed growth by the mulch.