
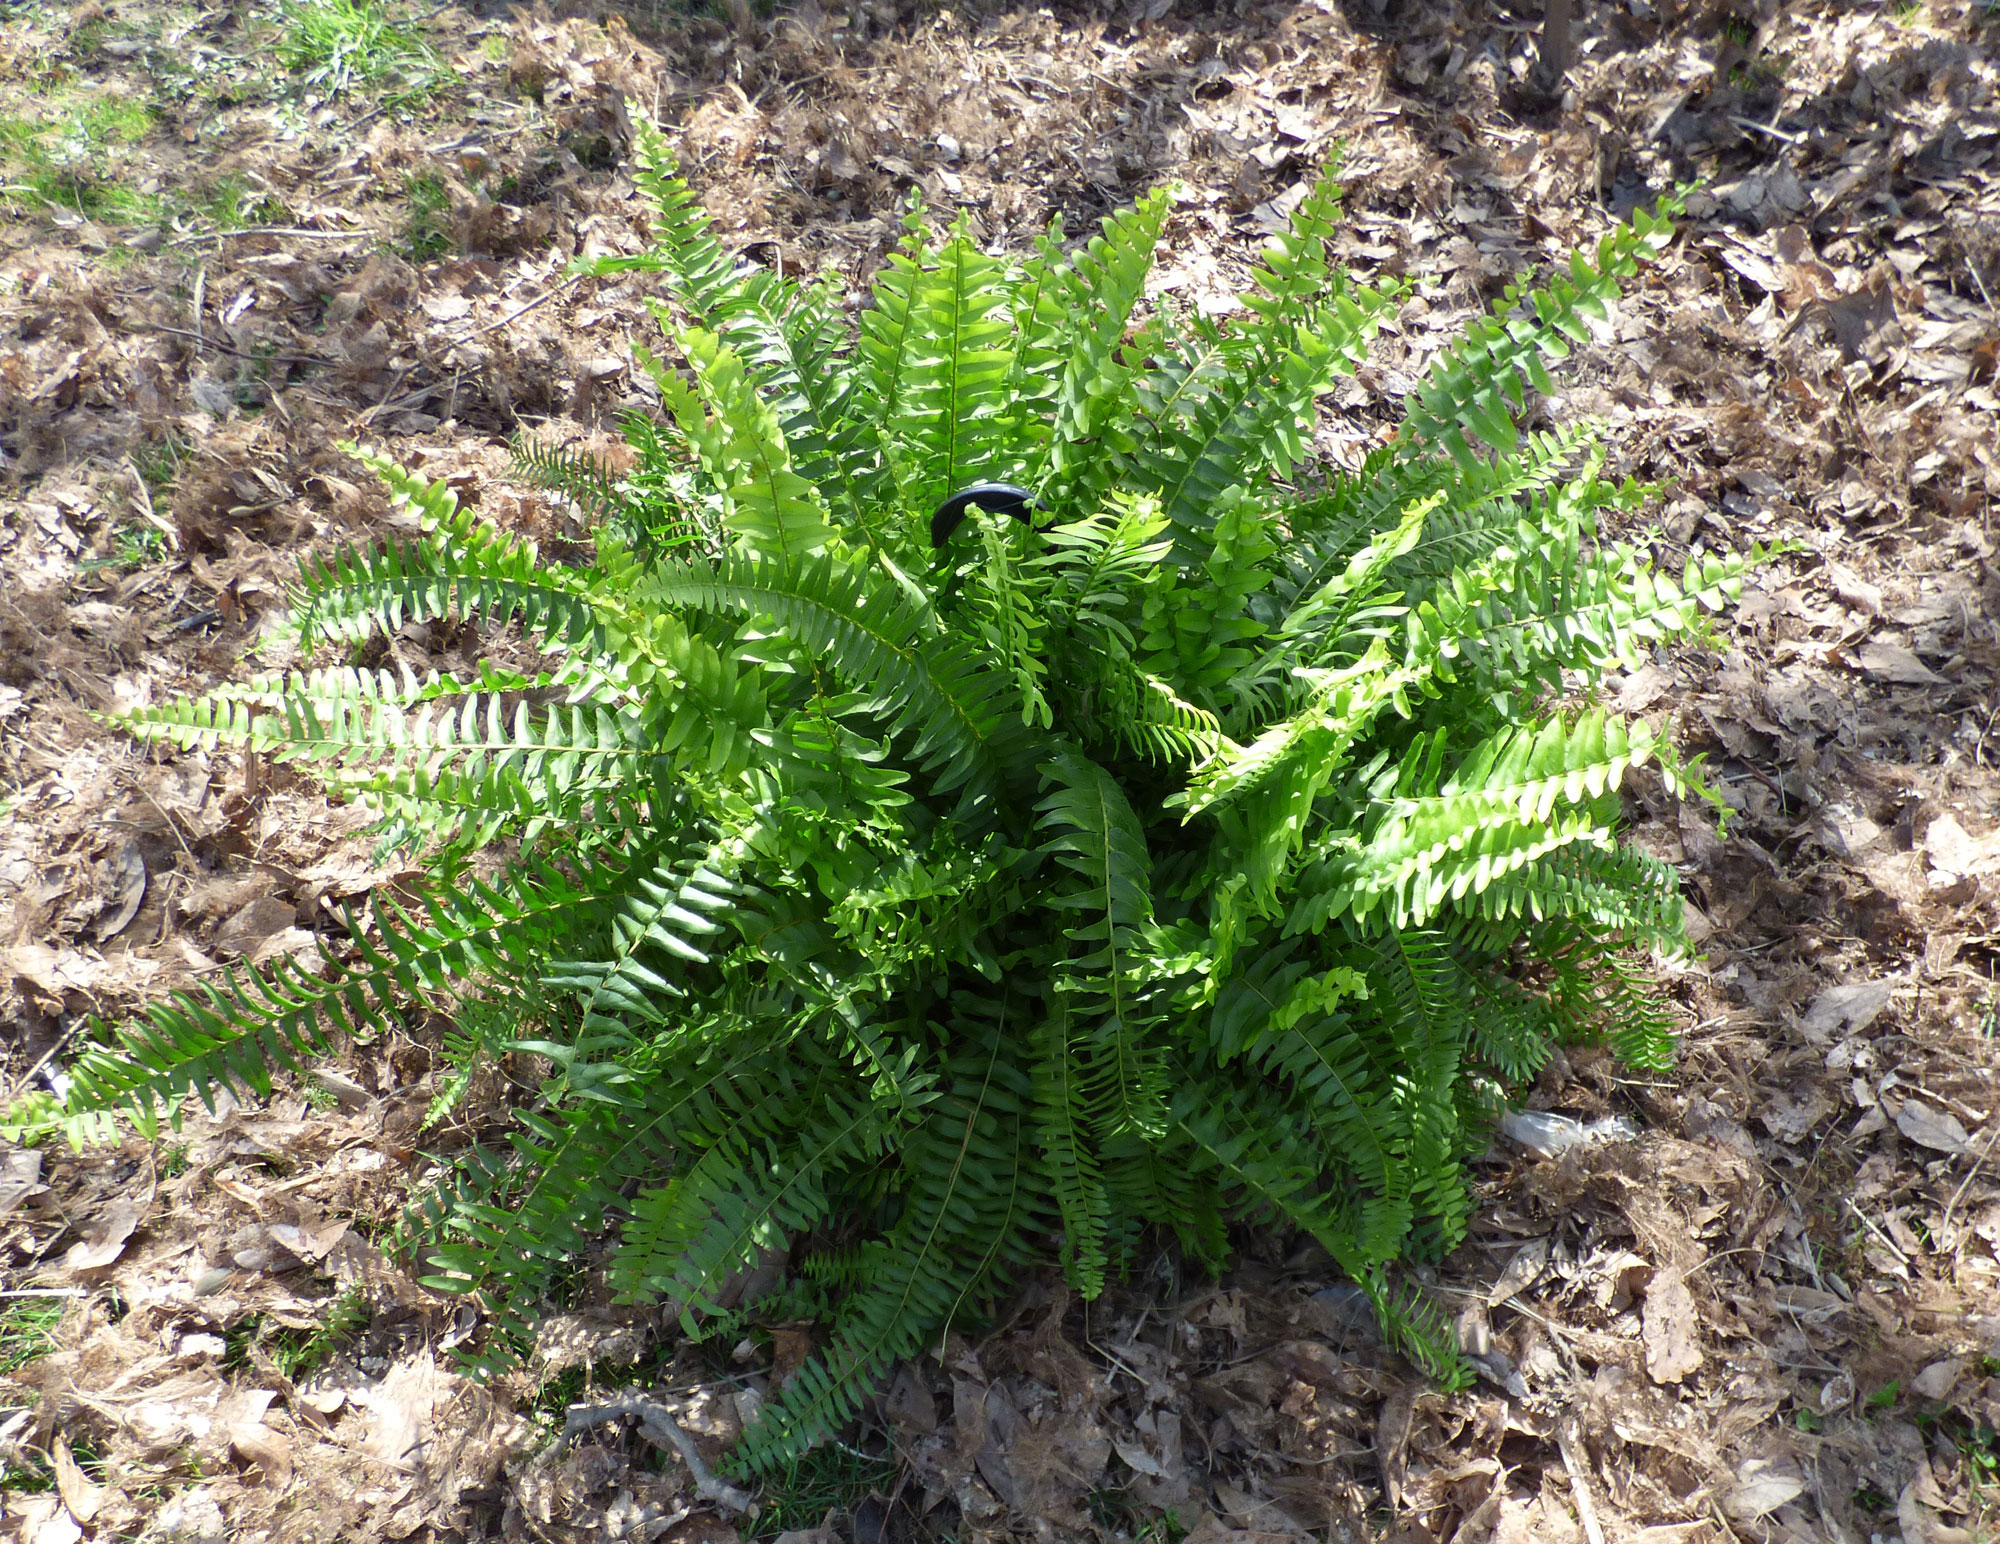
To divide a Boston fern, lay it sideways on newspaper or cardboard. Then, use a large serrated knife to cut down through the rootball. Once you have the right size, use your fingers to separate the leaves. If your fern is rootbound, you can also cut off the connecting roots with scissors. This is the easiest way to separate a single plant into multiple units. However, you should make sure that the roots are attached to the new divisions or the resulting plants will be unstable.
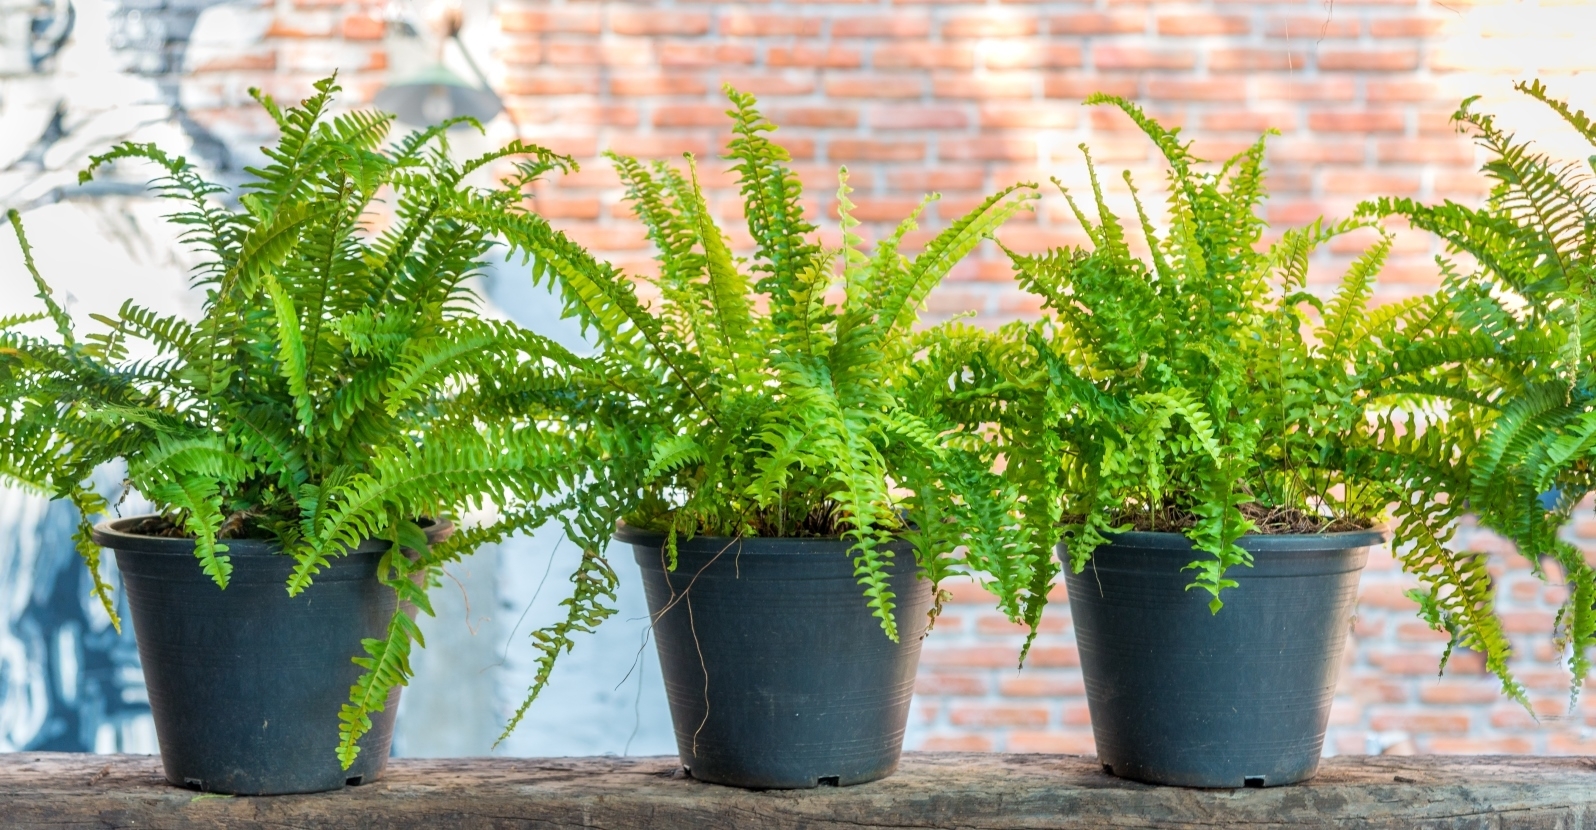
When dividing a Boston fern, it is best to plant each piece in its own pot. You must keep the roots intact, especially those that show yellow tips. Water the pot thoroughly and add water soluble plant food to the soil before planting the new pieces. Place the divisions in a warm, humid spot out of direct sunlight. For best results, transplant the fronds in spring, when they are healthy and have regrown.
To divide a Boston fern, cut the rhizomes and root ball in half. You can then cut the roots and spread them across the new pot. Be sure to water them thoroughly. Be sure to separate the rootball and keep as many leaves as possible. After dividing the plant, you can repotte it into a larger pot or separate individual pots. You can repotted the plant in the spring after the new divisions have grown roots and become stable.
If you want to repotted a Boston fern plant, you can split it with the aid of garden forks. Then, tap the bottom of the pot with newspaper and gently firm the roots to the soil. After that, use the sharp knife to cut the roots of the fern into quarters. Once the pieces are separated, you can now place the pieces in individual pots. You may also choose to divide a Boston fern into smaller ones if they are large enough.
A Boston fern will require a small piece of soil to be removed from the pot. You should also keep in mind that the roots of a Boston fern will remain attached to the pot. It is best not to separate the roots. These may cause a shock to the plant. Then, you should turn the pot on its side. You can tap or gently pull the fern out of the pot.
After you have cut the root ball of a Boston fern, you should plant the divided sections in fresh potting soil. A Boston fern should have enough room around the edges to allow the roots to grow. Then, remove the pot and plant the resulting divisions in the new pot. Alternatively, you can divide the plant into quarters or halves. If you have a large container, you can also cut it into quarters.
Once you’ve divided your Boston fern, you need to make sure that the resulting clomp contains healthy roots. After you’ve planted the new divisions, you should water the plants daily for a month to allow them to recover from the transplant. You should mist the clomp every morning for at least a month to ensure that they have a good chance of rooting. You should also be prepared to take away the dead rhizomes.
Once you’ve cut the fern’s roots, it’s time to repot it. After you’ve removed the root clomps, fill the pot with fresh soil and water the plant well. Once you’ve completed the division, you should place the new clomps in a 4- or 5-inch pot. You can also repot the clomps into a larger container.
In the summertime, you can plant your Boston fern in the ground. When winter comes, you should bring it indoors as the temperatures get cold. When the soil becomes too dry, the fronds will fall off. You can divide your Boston fern by cutting the rhizome apart. When the clomps have healthy fronds, you can start a new division.