
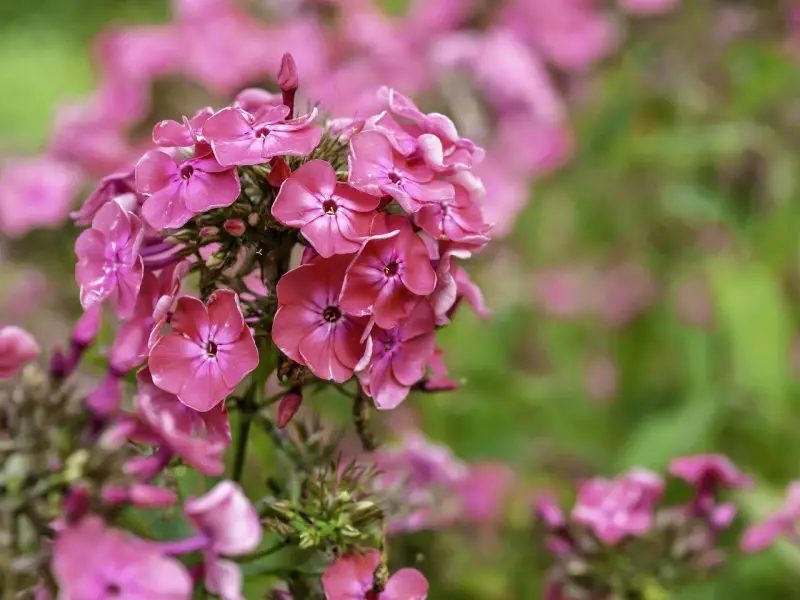
One of the most common sights on a Phlox tree is that of the dark green, leafy blooms that litter the entire flower head and are ready to die off. It’s not as easy to transplant Phlox from one plant to another as it is to simply cut them off. While cutting off the whole flower cluster, you could risk losing some of the blossoms if they are uprooted too far away. You could also risk hurting your own flowers if the cutting isn’t performed properly. This article describes how to deadhead phlox with minimal damage to the flowers.
Most people familiar with transplanting Phlox would find it relatively straightforward. All they do is remove the bloom from its support structure and move it to a new pot. However, many experienced breeders and growers are now recommending another method for completely removing mature Phlox flower clusters. This approach is called deadheading and it provides the Phlox with an opportunity to be removed without damaging the entire flower head.
How does deadhead phlox differ from cutting off the entire flower cluster? While cutting off the flowers doesn’t damage the entire flower head in and of itself, it does remove all of the seasonal blooms. Deadheading, on the other hand, just delays the removal of all of the blooms. If you deadhead your Phlox perennials, their leaves will stay on the plant through the winter, but the flower heads will die off.

The procedure of how to deadhead phlox involves cutting a “deadhead” wire along the length of the flower spikes so that the entire cluster is exposed. Then, remove the majority of the spines on the spikes by making certain that they are pointing upwards. Then, the spikes should be bent back towards the trunk by wrapping the wire around them. After this procedure, reconnect the wire to its terminal end and cut again, but not as far down as you removed the spines from the cluster.
To complete the process of how to deadhead phlox, loop the new deadhead wire around the bloom head and wrap it again using the deadhead wire. You should then bend the wire back towards the trunk. If you have time, you can then bend the top portion of the deadhead wire back towards the pot. Once this is completed, attach a length of new deadhead wire and re-tie the loop.
Deadheading should not take very long at all – usually only about one or two hours’ worth of work. If you are deadheading your Phlox perennial plants by pulling them up, then you should take your time to coil the wire around the stems so that they are firmly in place. You may also want to apply a little bit of pressure down around the spines, making sure that you don’t pinch the roots. Once you are satisfied with the tightness of the coil, you can leave the bloom head to grow naturally without any interference from deadheading.
If you are attaching the deadhead wire under the foliage, you need to carefully work the wire around the plant’s roots. Be careful when you are bending the wire because you don’t want to damage the roots or the plant itself. If you are attaching the deadhead wire above the ground, then you will need to dig a hole that is at least four inches deep, although it does depend on the species of Phlox that you have. Once you have the hole prepared, you will need to locate the top of the stem. In most cases, this is located near the base of the leaf, though that will vary depending upon the specific species of Phlox that you are dealing with.
When you are learning how to deadhead phlox, it is important that you keep the plant in an area where there is plenty of light and air. The reason for this is that the plant absorbs a lot of UV radiation from the sun. Another reason is that the hot sun dries out the leaves on the plant. Another helpful hint for those who are learning how to deadhead phlox is to make sure that you water the plant well in between each cut.