
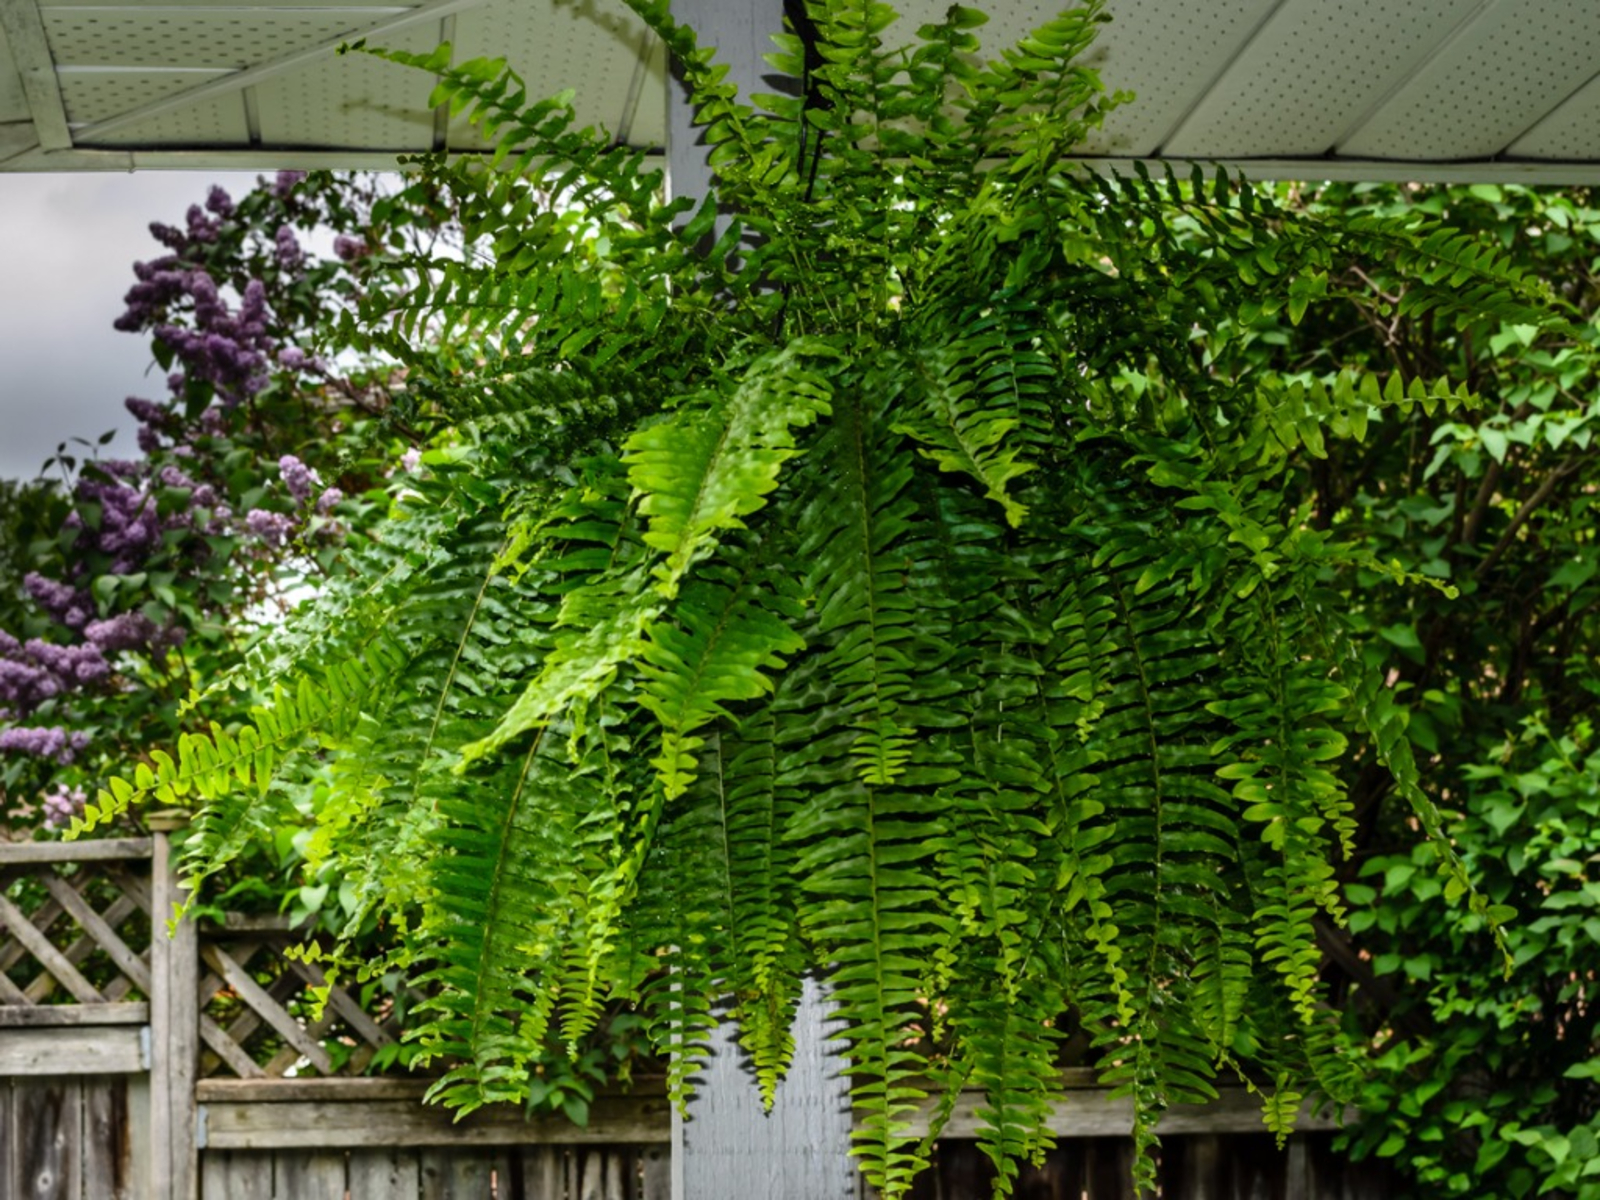
So, you’ve decided that it is time to learn how to trim a Boston fern. After all, this is one of the easiest and most inexpensive plants to care for. Also, it tends to grow quite well in a variety of conditions, and you are sure to have many opportunities to manipulate its growth. This article will give you all the information you’ll need to get started learning how to trim a Boston fern.
The first step is to recognize where each stem node should be. The stems of a Boston fern extend from the base of the leaf up to just below the leaf node on the opposite branch. The base should be firmly pressed against the dirt. As you see the fern starts to grow upwards, the uppermost branch (the one with the terminal buds) will be pulling down and the lowermost branch (with the petals) will be pulling upwards.
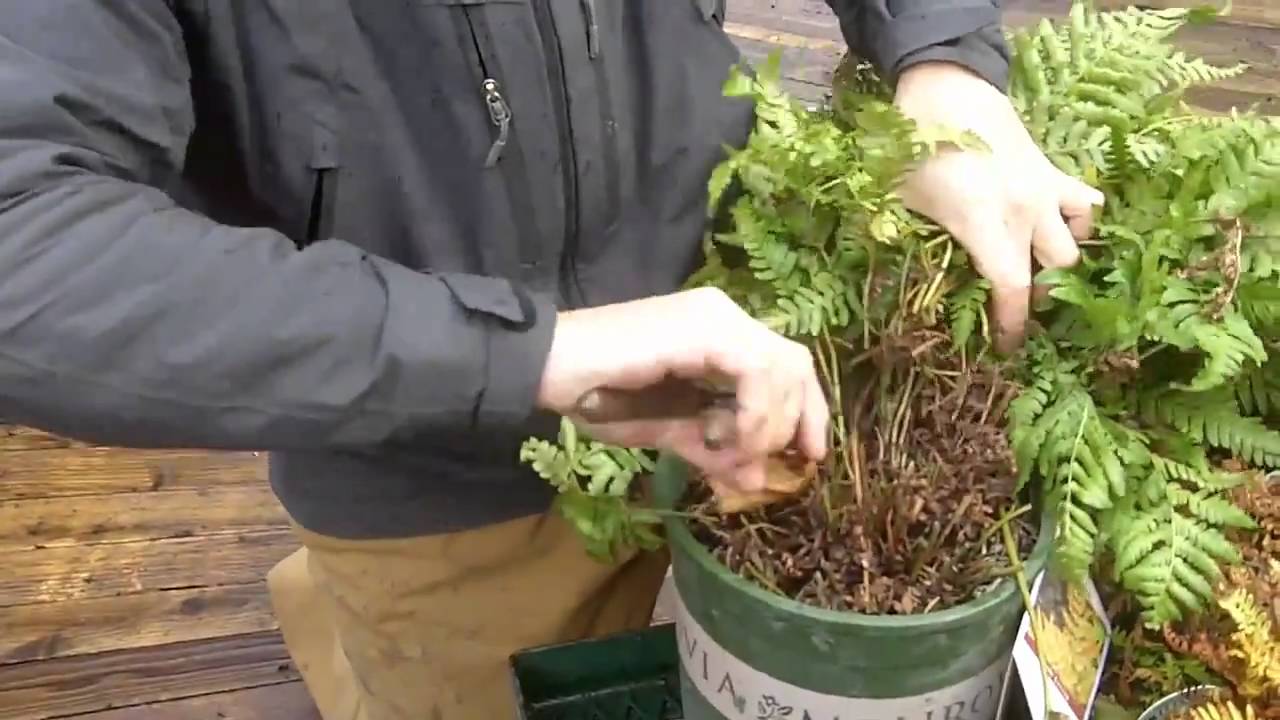
Trim off any old or broken branches near the base. Cut back any overhanging leaves and any brown or blackish foliage on the stems. Move the stems into a straight upright position. Then pinch off any overhang on the lower side of the trunk. You can also remove any brown or black patches of leaf tissue on the lower side.
Next, gently push the fern towards the light. The stem should bend just slightly at the base so that the leaflet is trapped between the center of the stem and the light. Then, with the branches facing out, pull the stem towards the light. Cut the stem about 1.5 inches above the leaflet. This will result in a new stem coming up and the old leaf will drop off.
Trim the lower side of the fern leaves. First, make sure there are no white or dusty leaves on the lower end where the fern leaflet is located. The white leaves are usually the first to die. Once these are gone, the green leaves will follow. You can use a pair of tongs to gently pull the leaves until the fern is approximately half way down the stem.
Then, turn the fern upside down. Let it fall and you will see a mass of brown leaves on the bottom part of the fern. This is the old stem coming up. You can cut off any brown or fallen branches here and use them to form new shoots.
Now, on the opposite side, leave the main stem area alone. The green leafy shoots emerging from this new base will grow up and spread out horizontally along the top of the old and dead branch. Cut off any branches that grow beyond this point as they will not contribute to the fern growing pattern. You may want to hang this mass of leaves in hanging baskets so that they do not grow back into the Boston Fern’s roots.
If you are still unsure about how to trim a Boston fern, take a second look at the stem when the plant starts to grow in the direction of the wind. Is the fern growing parallel to the stem or off to one side? If it is growing parallel, use your pruning shears to trim away any of the growing buds that are growing beyond this point. If the fern is growing off to the side, you can use your cutting shears to go through the middle of the stem and get to the leaf nodes. Your goal is to get as much of the stem into the ground as possible, ensuring that it will grow to its full potential.